
How RotationMatch Network Works
From creating your account to starting your first clinical rotation, follow our simple 8-step process.
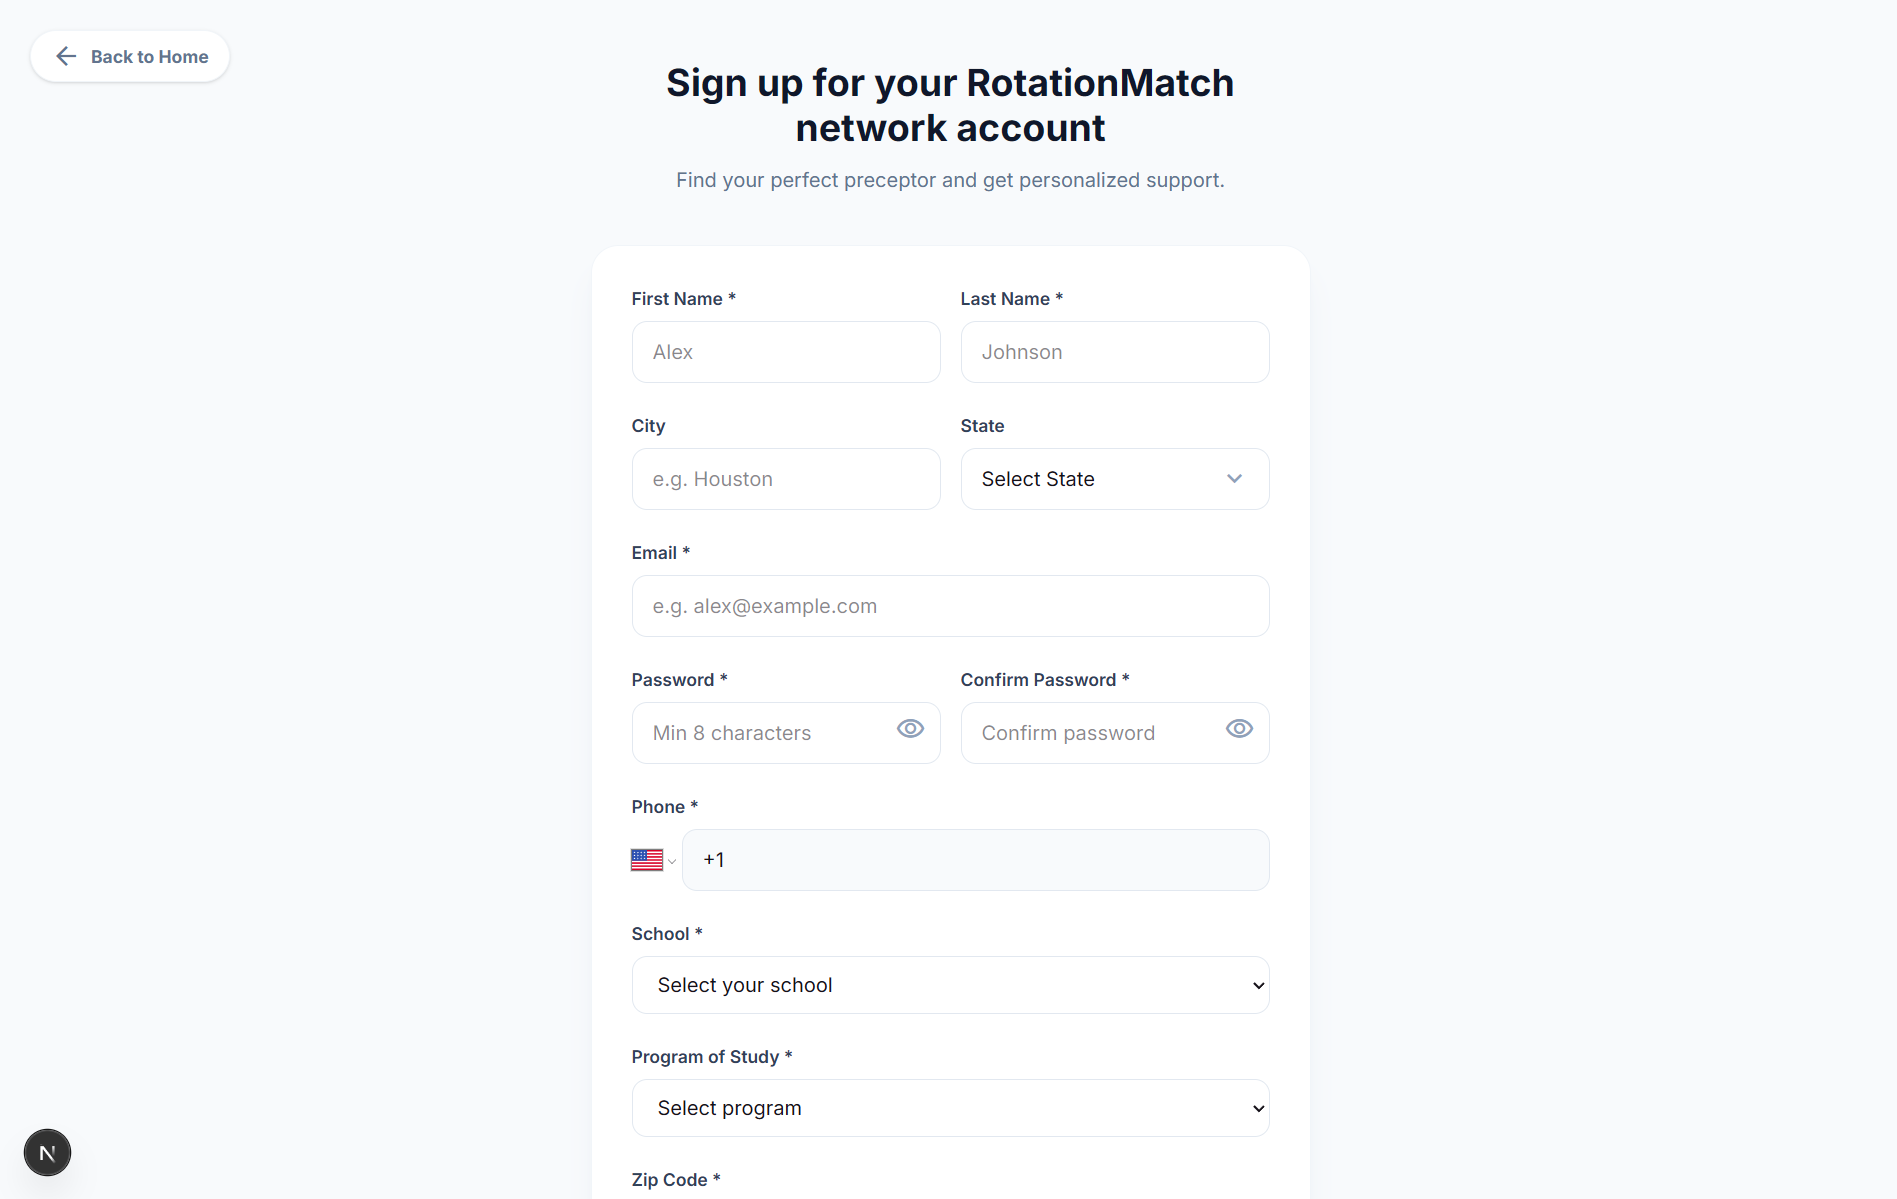
Create your student account
Start by creating your RotationMatch Network student account. Once registered, you’ll be taken directly to your student dashboard to begin.
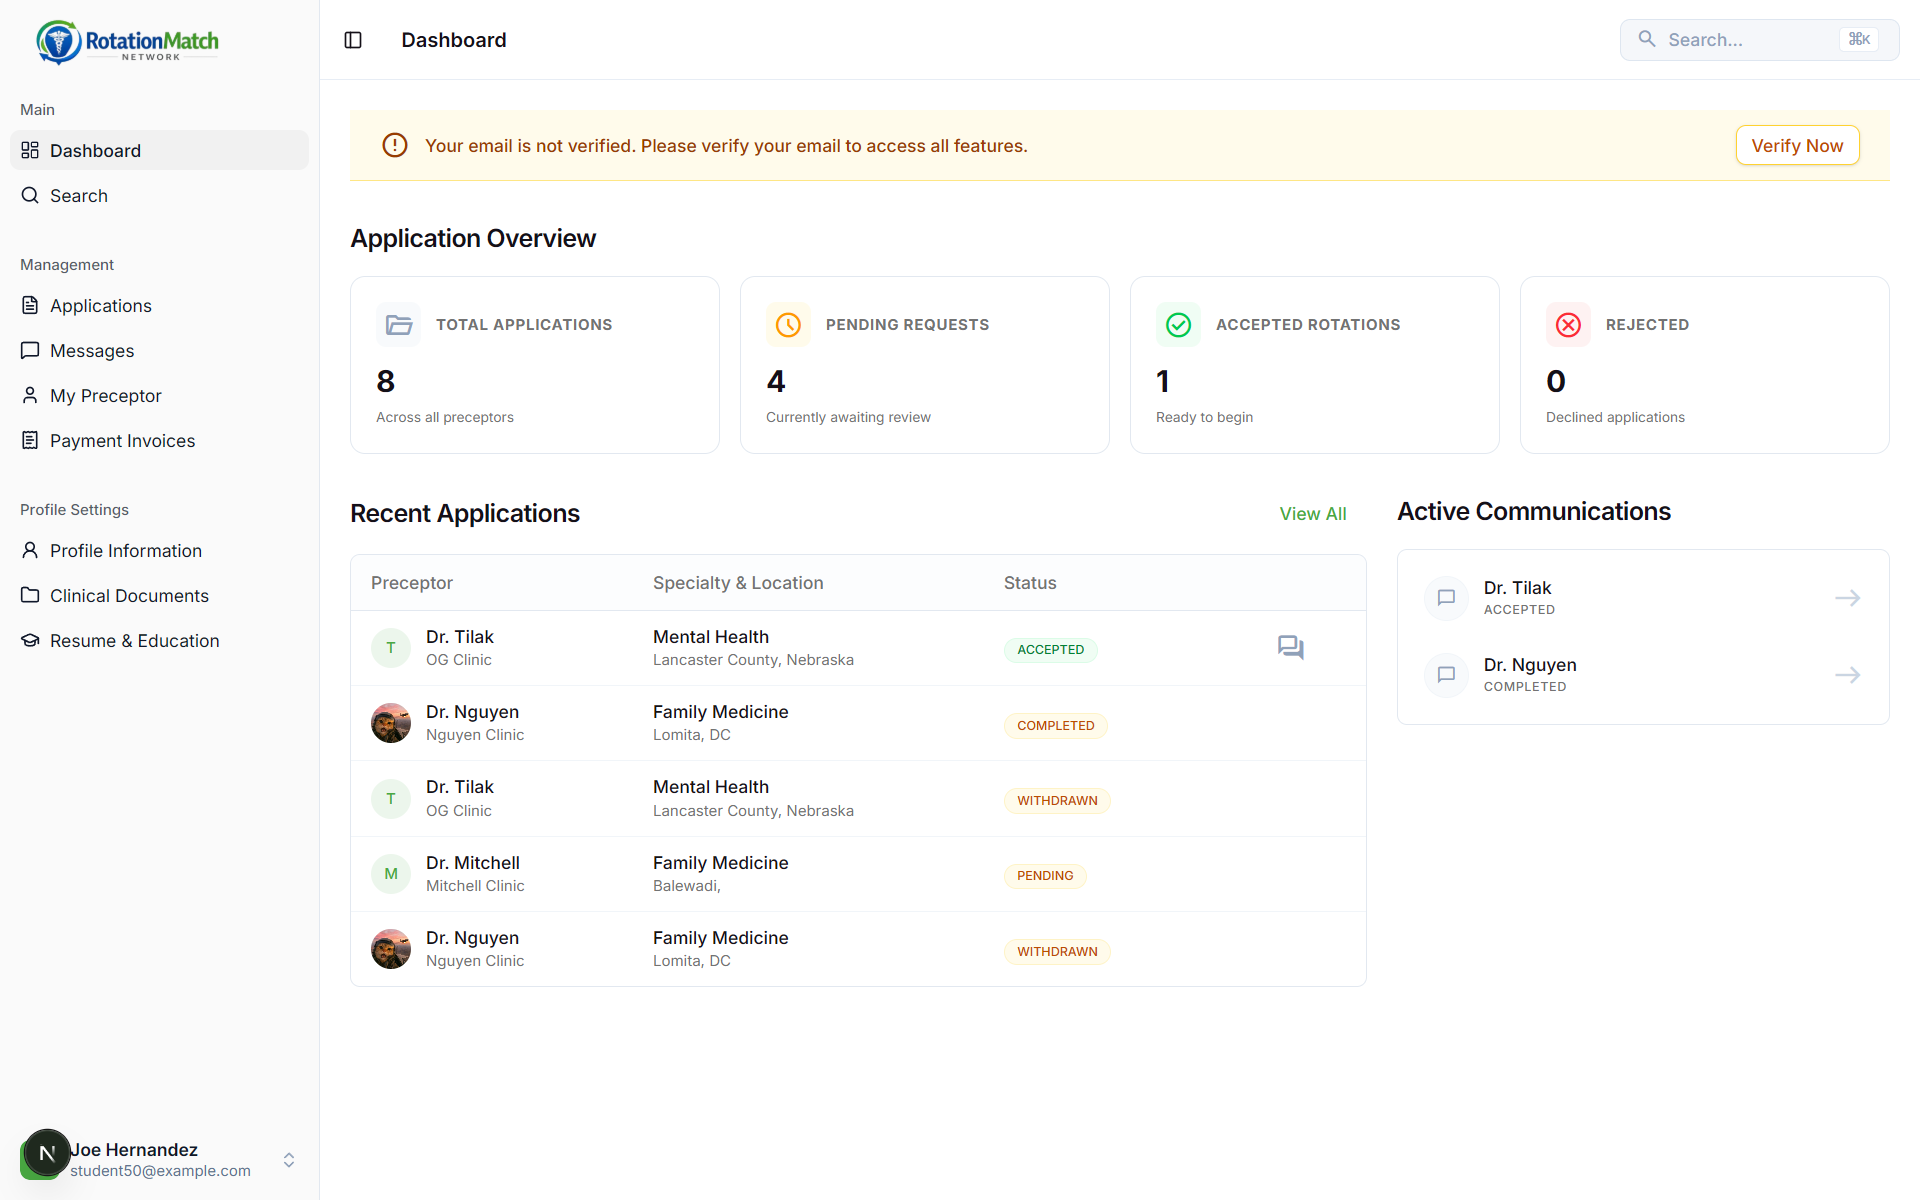
Verify email & review dashboard
Your dashboard shows your active applications, accepted rotations, and chat messages. If you see an email verification banner, verify your email to unlock all features.
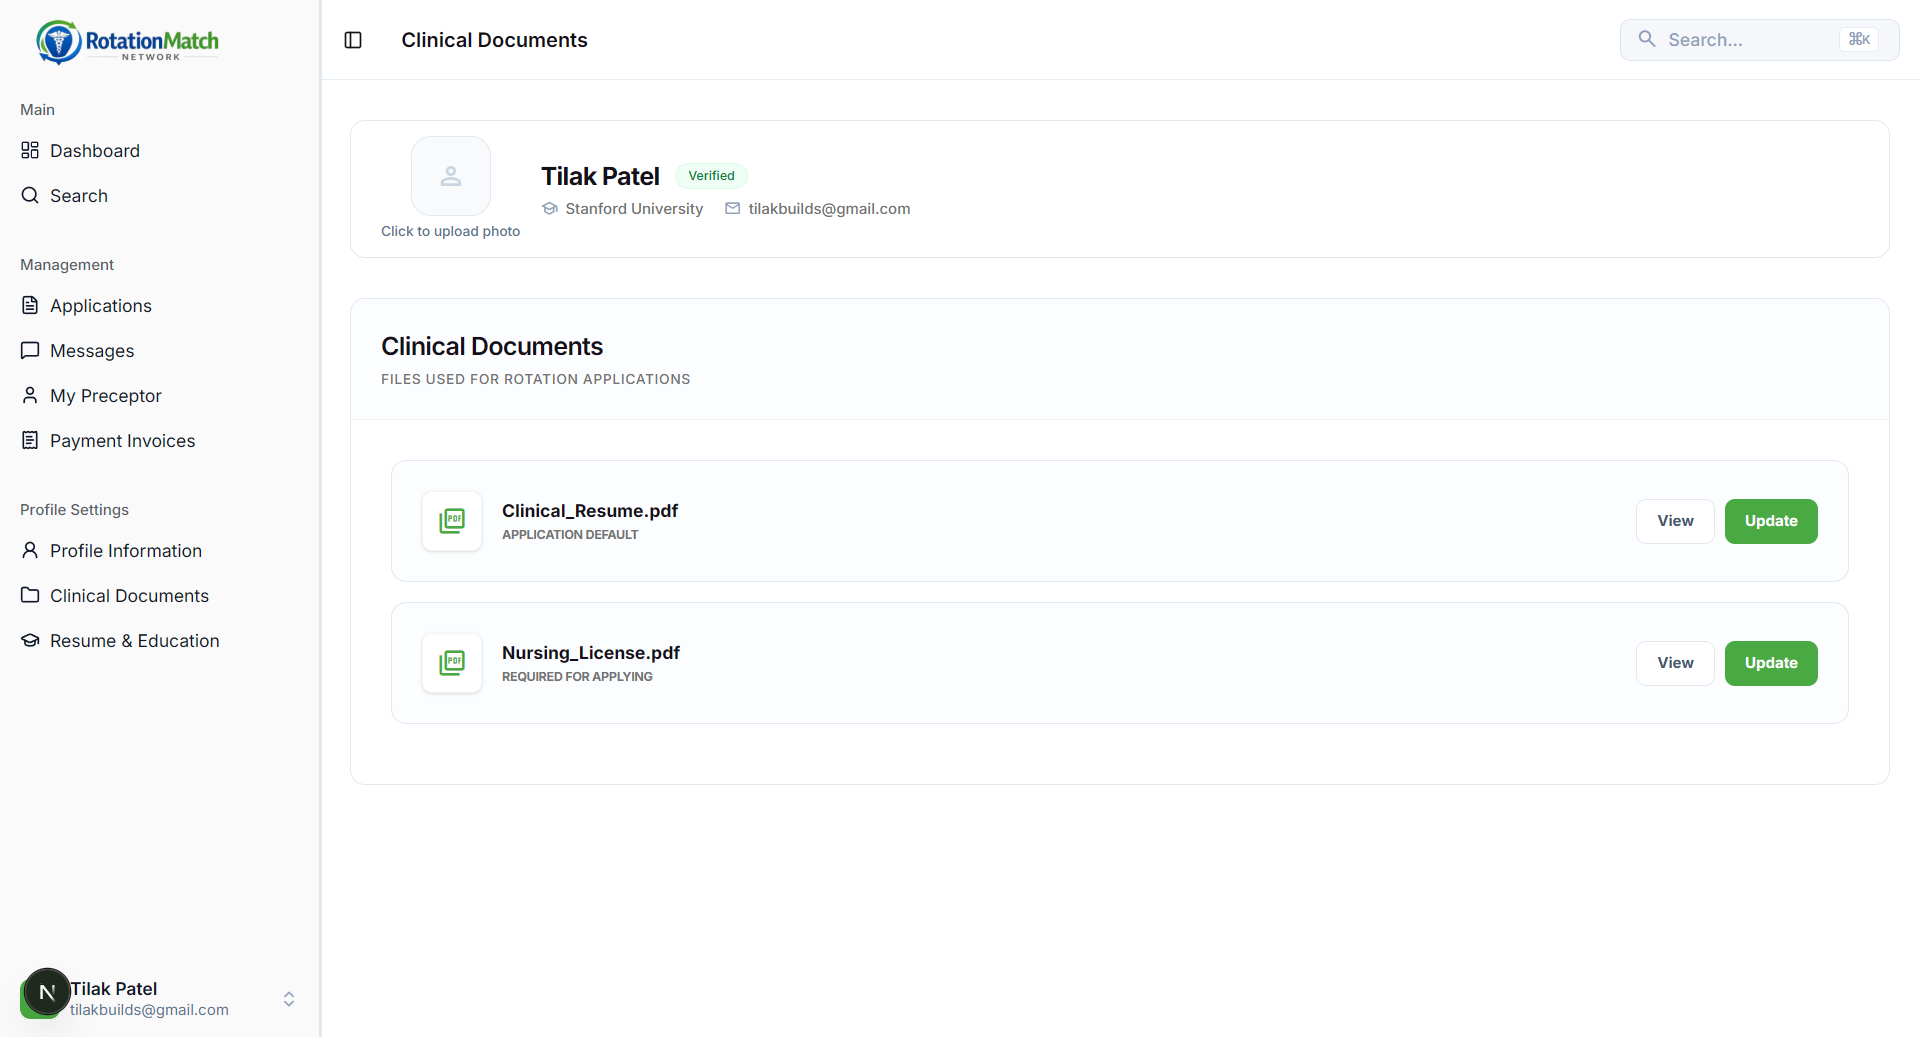
Upload required documents
Before applying, ensure your clinical documents are ready. The application flow checks for your nursing license and resume.
Typically required
- Nursing license (required to apply)
- Resume (upload one, or use Resume Builder)
- Up to 3 extra optional documents
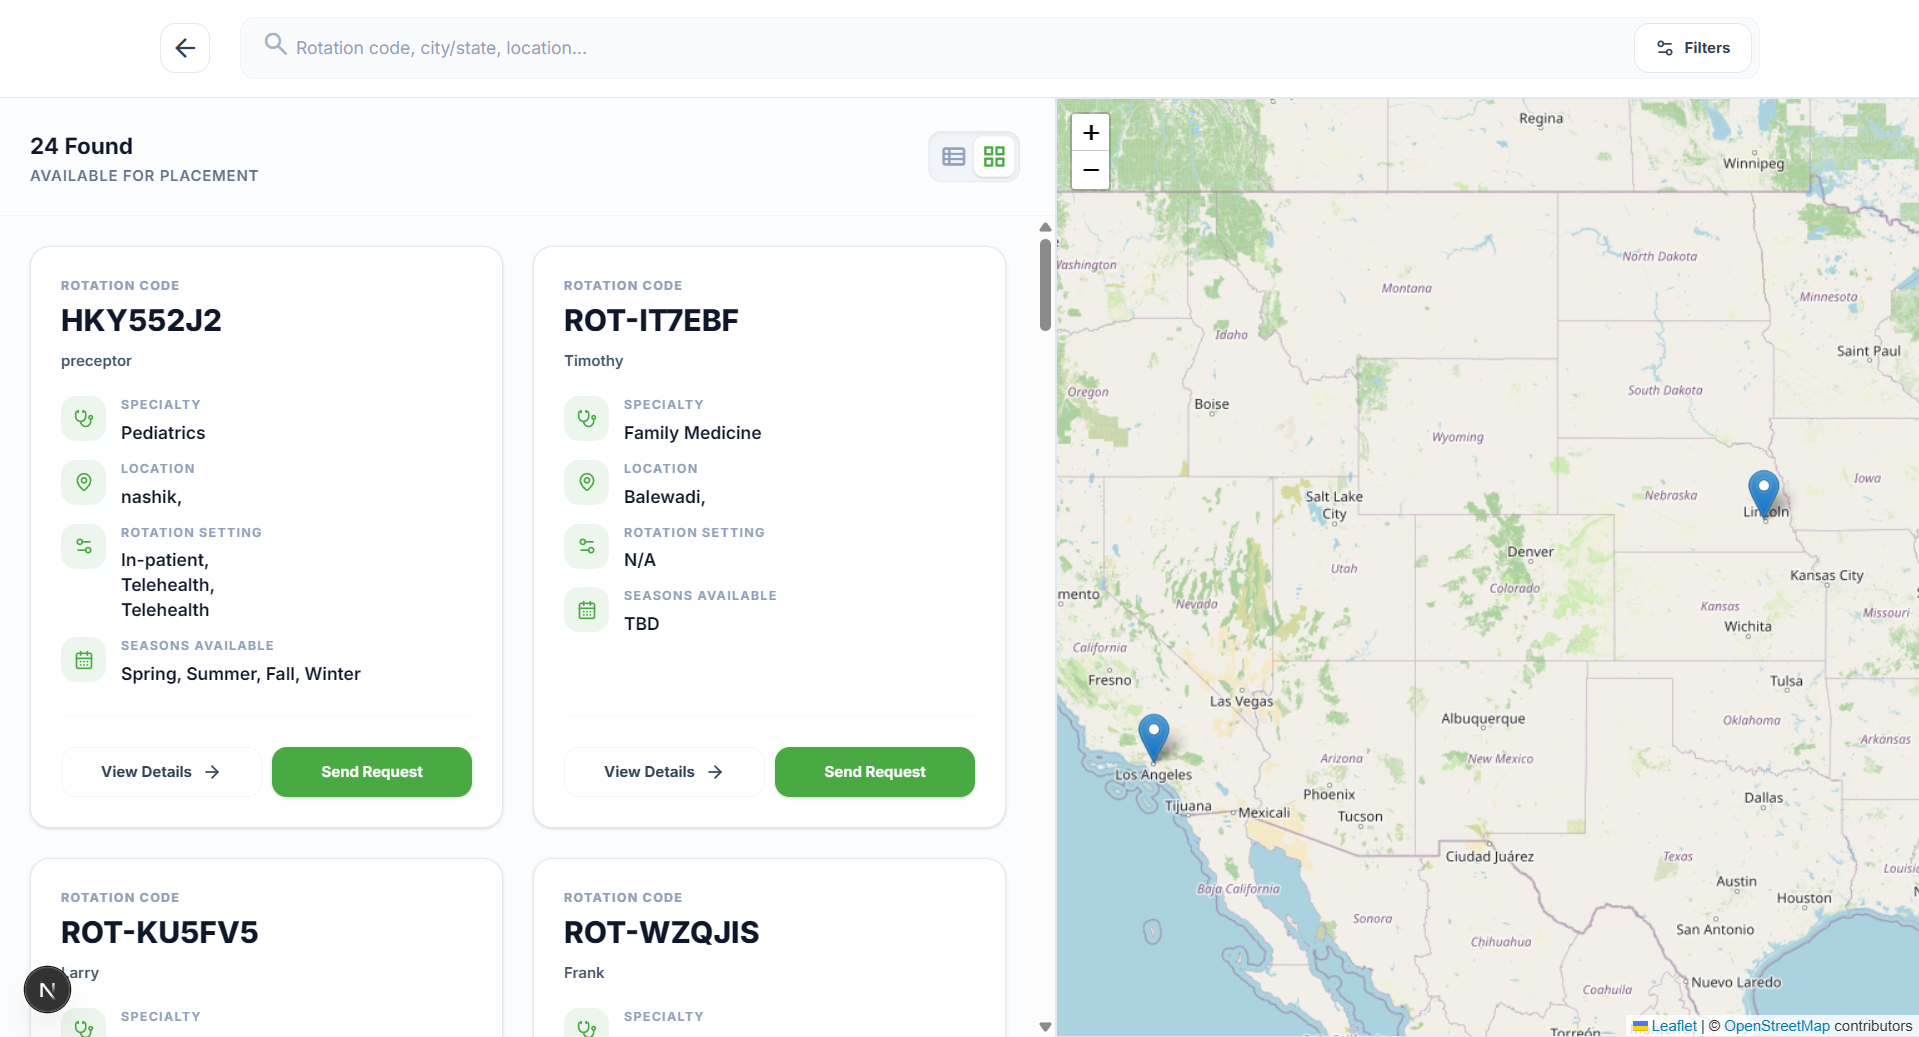
Find a rotation
Use Search to browse available rotations by location and specialty. Click on any rotation to view the preceptor's requirements and specific details.
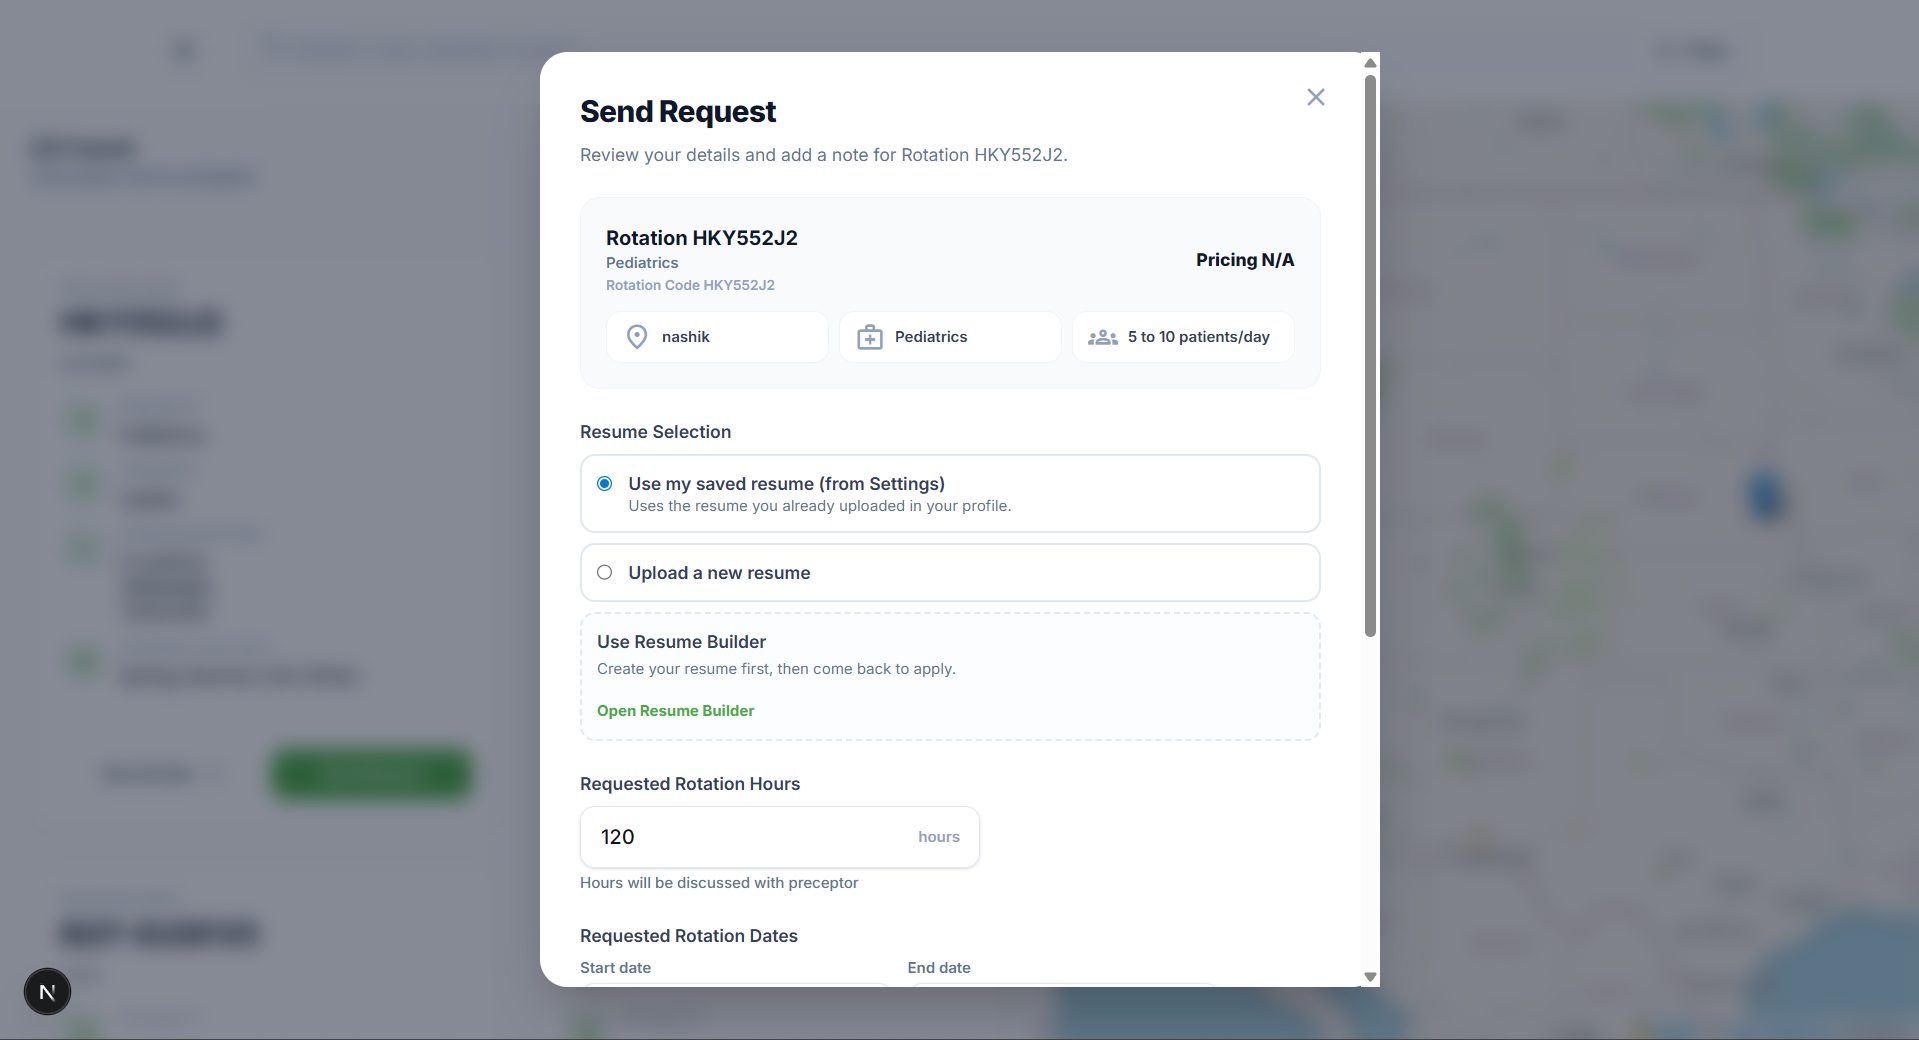
Apply & send request
Click Send Request on a rotation. You’ll be asked for your preferred rotation dates and hours. You can also attach any extra required documents here.
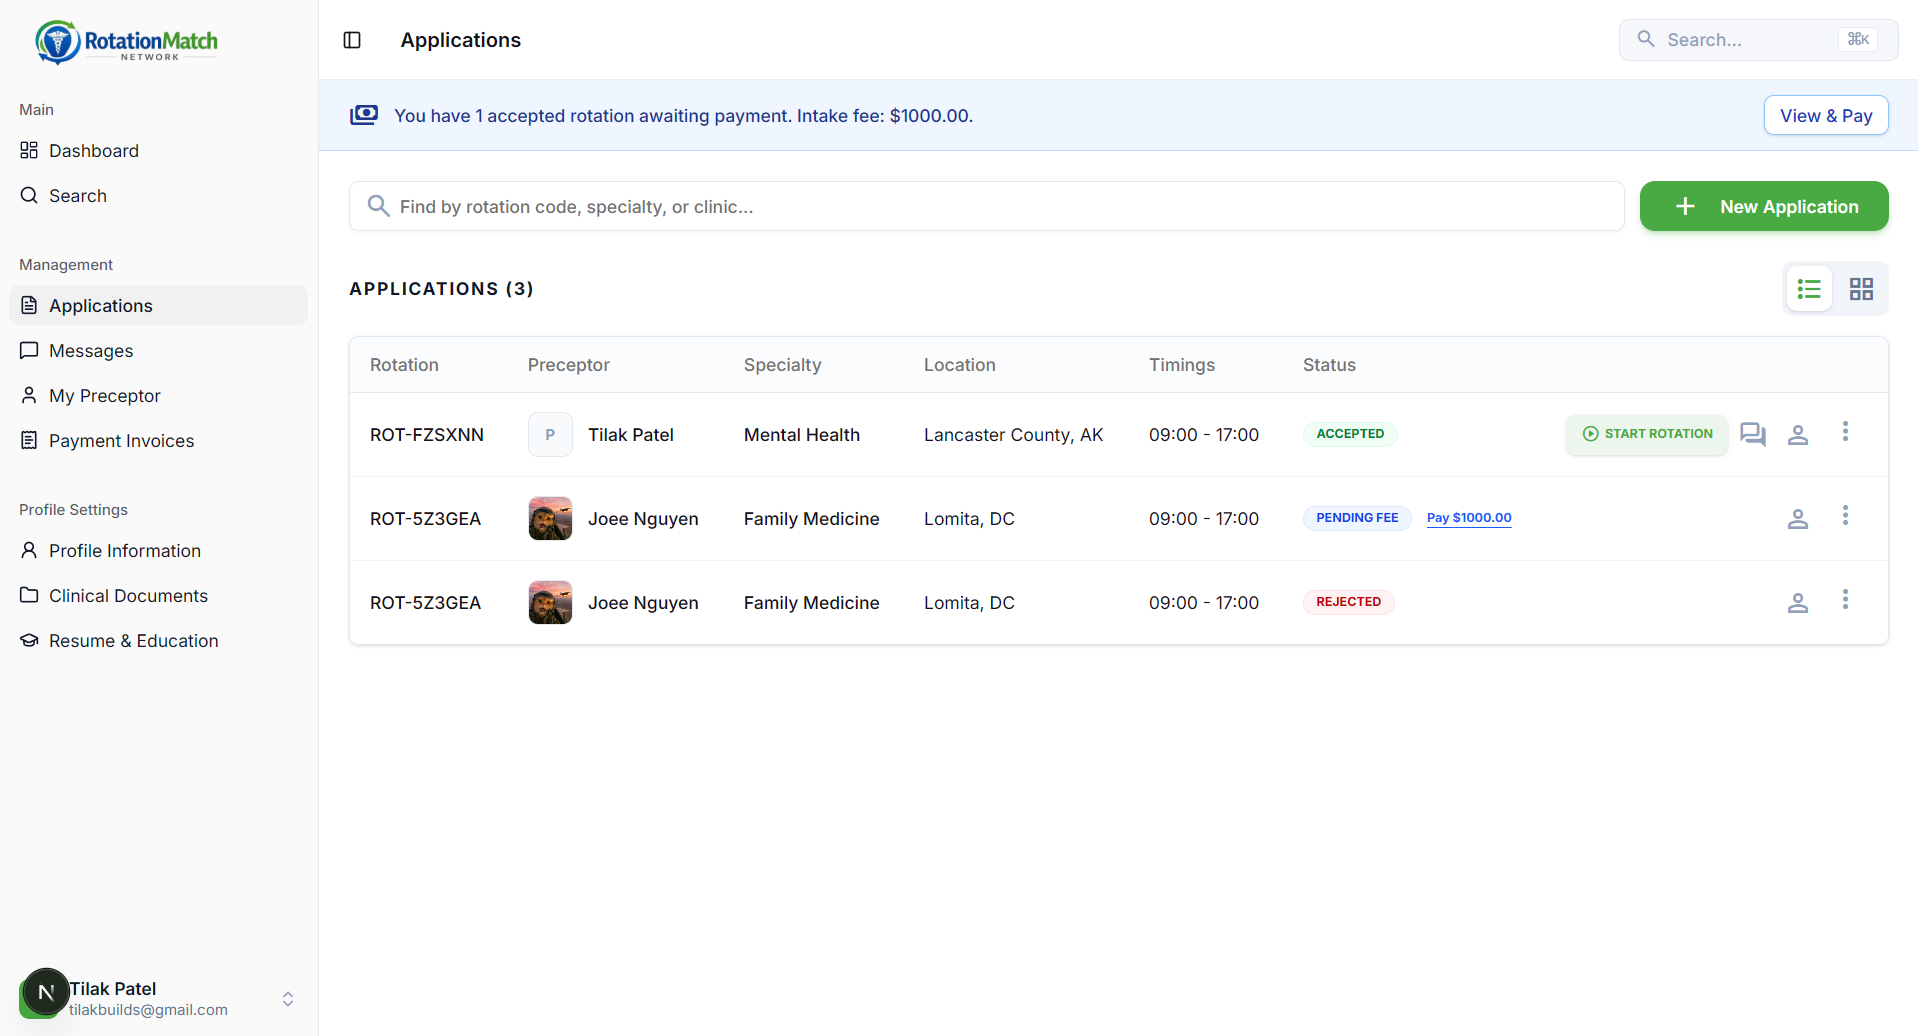
Track application status
Check your Applications tab for updates. If a preceptor requests changes (like adjusting dates), you can update your application and simply re-submit.
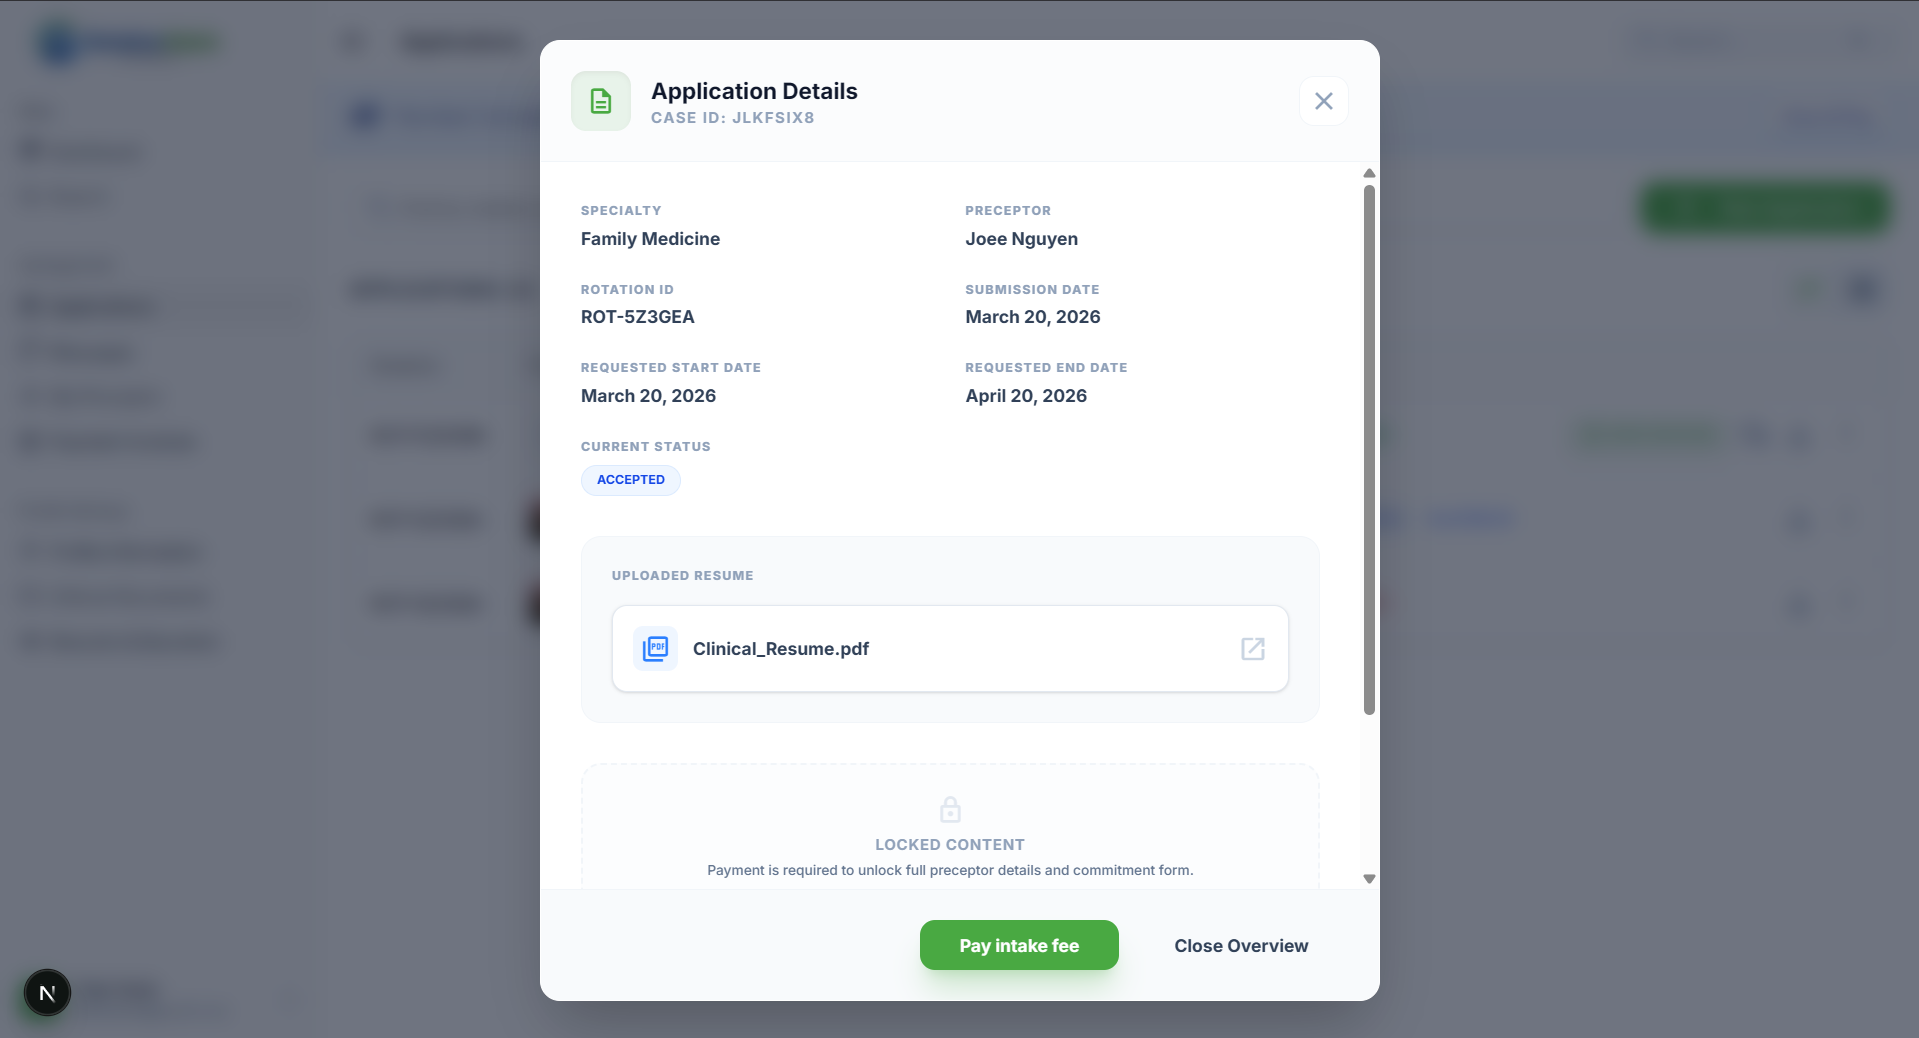
Pay fee to unlock contact info
Awesome, you're accepted! Now pay the access fee (often $200, shown in the app) to unlock the preceptor’s full contact information. After payment, direct chat becomes available.
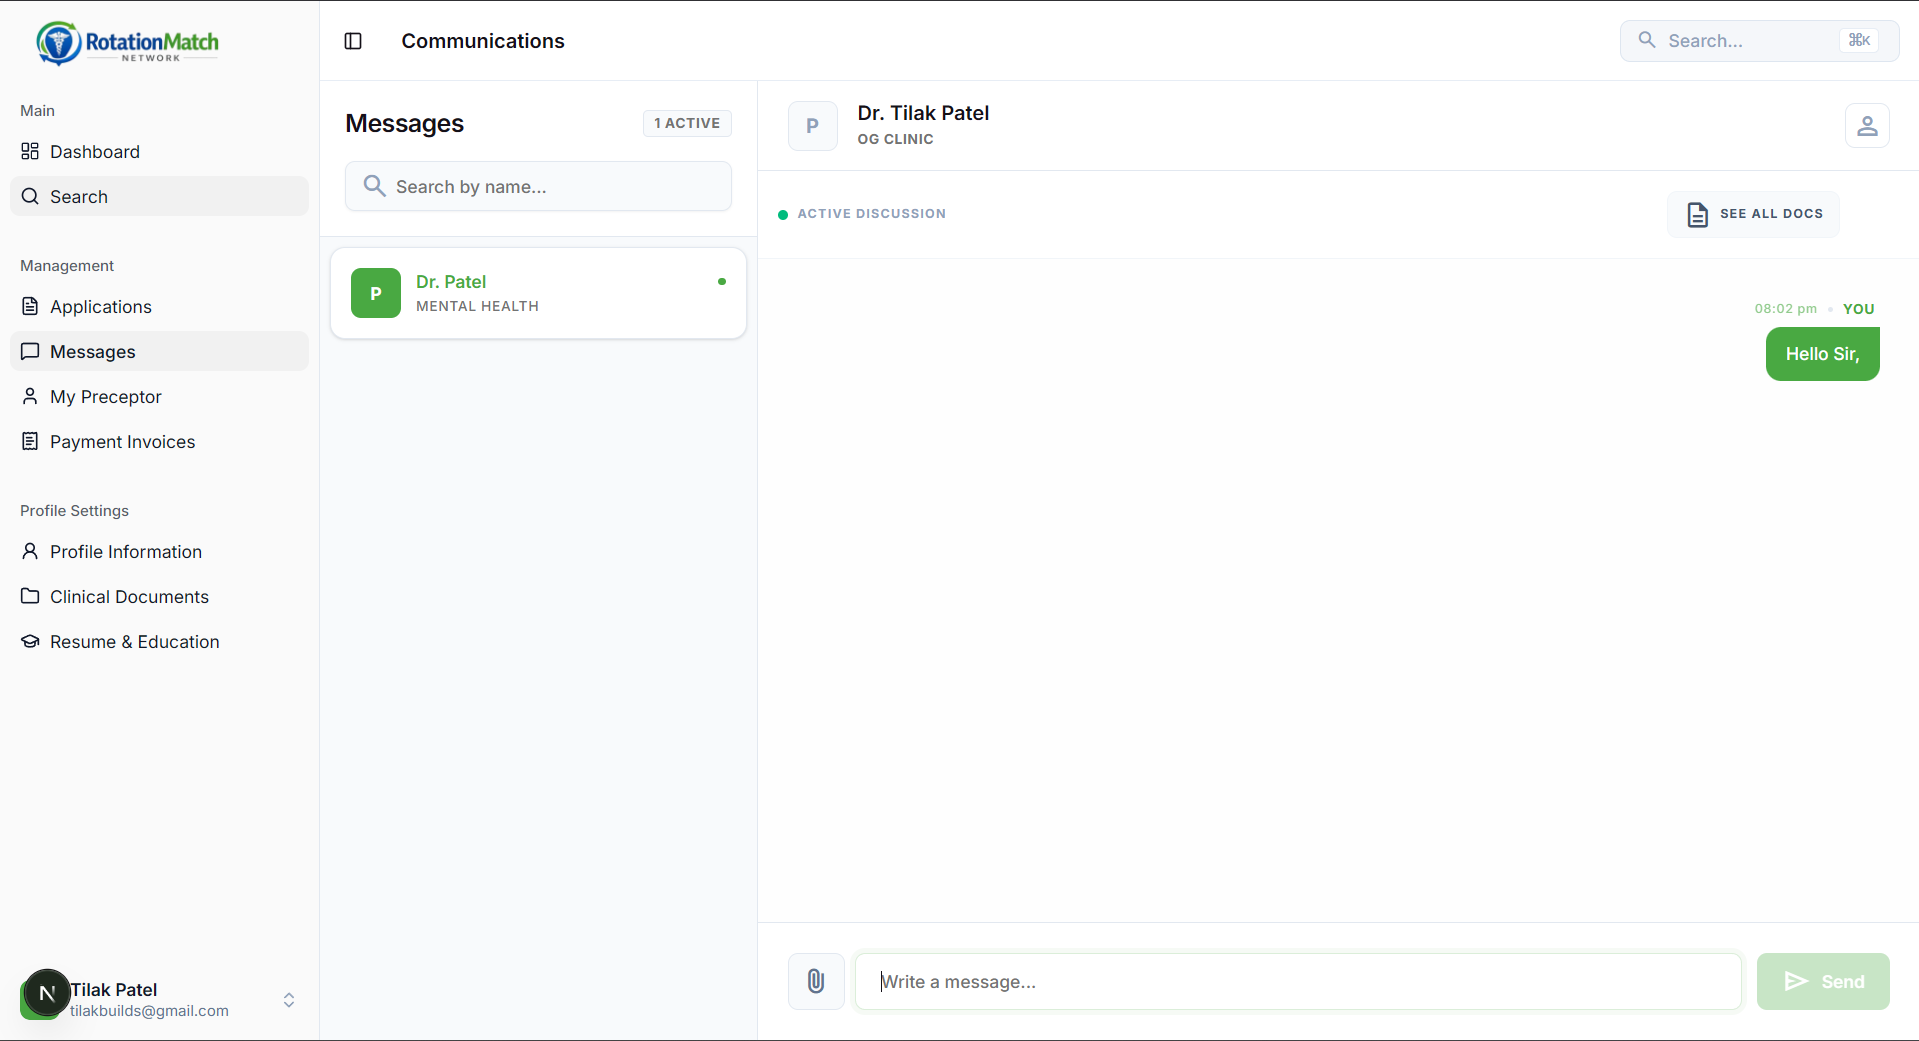
Chat & start your rotation
Use the Messages built into RMN to coordinate with your preceptor.
When you’re officially ready, start the rotation by setting your clinical dates and optionally uploading proof of university approval.
Need extra help?
If you get stuck during registration, document upload, payment, or finding a preceptor, our support team is always ready to assist you.